When your deadline is less than 24 hours away, it’s just not possible to squeeze in a fresh coat of paint and brand new appliances!! You probably won’t find yourself in many situations where you’re hired for a rush job, but it could happen. Ultimately, it’s up to you to decide whether or not you want to accept the call if the homeowners contacting you had hired someone else who dropped out last minute. You are your own boss, so it’s up to your discretion.
If you do decide to take on the job, it can seem overwhelming. Worry not! We’ve got you covered. Welcome to QC’s step-by-step guide to staging a home in 24 hours!
1. Get them to move out their stuff
Ideally, they would have already done so beforehand. We’re going to operate as if they had already completed this step, since it would eat away at your staging time and would really mean that they aren’t ready to do a house showing at all!
If they ask you what they should do in the days leading up your home mini-makeover, advise them to purchase some sturdy boxes and a storage locker. This way they don’t have to keep moving the boxes from place to place, and they’ll have a central pick-up location to fetch their stuff when they’re moving into their new home!
They shouldn’t be storing everything, though! Advising them to donate some items and tossing other things into the garbage bin will decrease what they have to pack, move, and store. This brings us to the next step…
2. The art of decluttering
This doesn’t just mean picking up old socks and recycling the junk mail. It means sorting through everything in a room and re-defining the space! It’s easy to have random items strewn all over the place for someone already living in the space, but it all needs to be cleared out for an open house. You need to get rid of those extra items, maximize the amount of perceived space, and enable prospective buyers to envision themselves living in the home.
It can be easy to clear out the living room and bedroom, but clearing a kitchen counter with a blender, toaster, microwave oven, good processor, and mixing machine is a bit difficult. Yes, those are all useful items that you probably do use on a semi-regular basis, but homebuyers place a lot of emphasis on this important space and need to see the amount of counter space available to them. Keep it as clear as possible!
3. Cleaning up!
The cleaning portion of the process will usually go by quicker after the decluttering process. This part involves actually wiping down the appliances and countertops, using the trusty Magic Eraser all over the walls and bathroom, vacuuming the carpet, and cleaning up the glass and window surfaces in and around the home. Your clients may not have the time and resources to do all this, so they’ll probably want to get in a cleaning company to tackle all this while they focus on cleaning out the refrigerator.

The outside of the home needs some cleaning, too! Tasks include raking the leaves and removing all recycling and garbage off the property after cleaning out the home. Curb appeal is incredibly important, so you want to make sure that there isn’t a mound of garbage at the edge of the property.
4. Depersonalizing & re-defining
Depersonalization is what differentiates home staging from interior decorating. You need to help your clients clear out their bathroom toiletries, personal framed photos, award trophies, and other items that indicate that the space is owned by one specific family. The goal is to make the space come off as neutral and thus universally appealing to as many people as possible.
While you’re helping your clients depersonalize the space, you will need to more clearly re-define the space. Each room has its own purpose, but the function of a room becomes blurred over time through various occupants. With open concept homes, it can be a bit trickier since walls serve a big purpose in defining the physical dimensions of space. Using the couches and loveseat to section off the living room from the dining room is a great way of putting in semi-solid boundaries for a space.
5. Accessorizing
You’d be surprised how nice a place can look just by replacing the smaller accessories and décor items. Start by assessing what your clients already have and build from there. Categorize their accessories by theme, style, and color and then evaluate the theme, style, and color of the rooms in the house. You want to have some variety, but choose your accessories to best fit the big furniture mainstays and the focal point of each room.
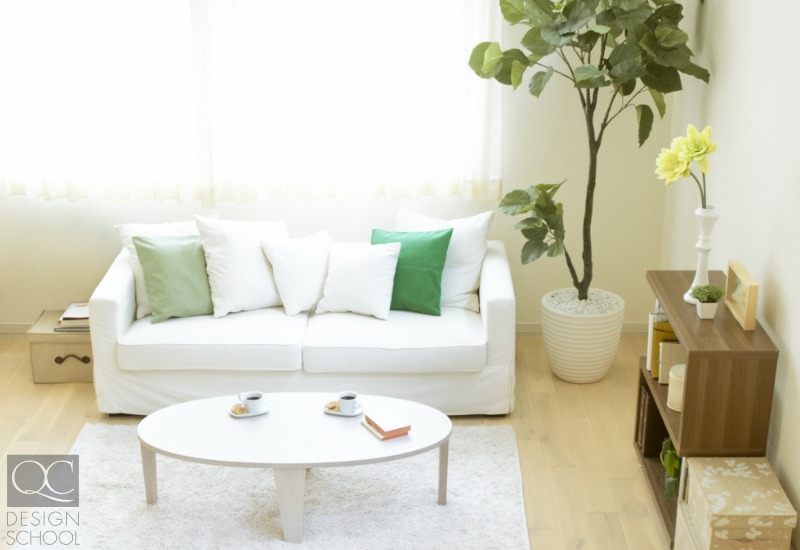
Make sure you don’t choose items that you are able to buy based on design alone – think of color and theme! Neutral colors mixed with pops of an accent color bring interest to the space without tiring out the eyes. Placing new throw pillows on chairs and couches in the living spaces and bedrooms can help with cohesiveness, because if the rooms are too neutral they come off as dull. Remember that everything should be proportionate, though. You don’t want a large blanket to cover up the entire chair and create an imbalance.
6. New items
If you’re on a tight schedule, you probably won’t have time to go from furniture store to furniture store or search multiple flea markets for that special something to add to your client’s home. You’ll have to work with what you have, but there are some items that might seem insignificant but can make a huge difference in how potential homebuyers see the space!
You don’t need to have brand-new stainless steel appliances, but having fluffy white, stain-free towels can up the luxury factor since people associate this with hotels! Because countertops are cleared by this stage, having some well-placed items can enhance the cleanliness and spaciousness of the rooms.
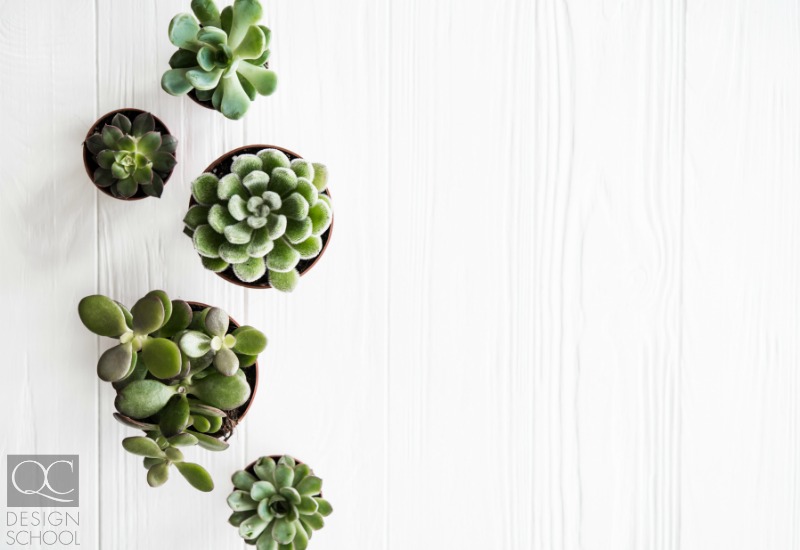
An easy way to breathe life back into a space is through the use of plants. From a vase of simple daisies to a large but well-placed floor plant, decorating with a bit of greenery can make the space feel fresh and open. Make sure the container’s shape, color, and finish align with your theme!
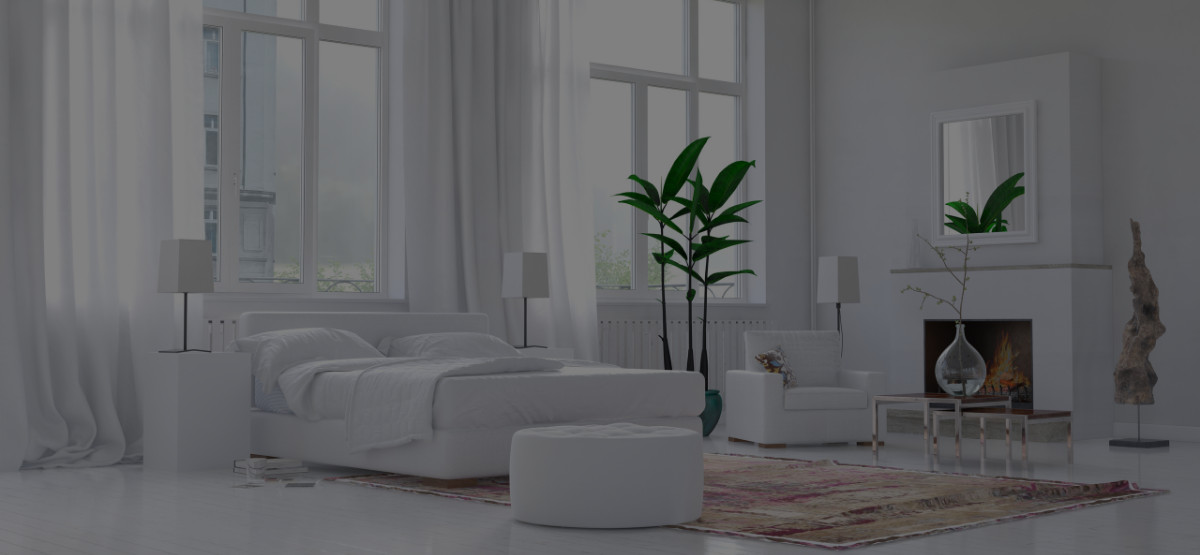
7. Polishing up
Replace that flickering lightbulb, neatly fold those bleach-white towels, strip the bed and put on fresh sheets, deodorize the home, pull the curtains back to let in natural light, and let in some fresh air! After you finish polishing up the home, your clients have to be extra careful of how they use the space before the open house.
If they wash their hands in the sink, make sure excess water droplets haven’t gathered to puddles on the granite counter. Simply wiping this away can seem tedious, but it can make a big difference when potential buyers mill about the home. Every cabinet, drawer, and closet in the house is fair game for examining, so maintaining a clean and tidy appearance even behind closed doors is essential.